
Tackling a hoarding cleanup? It’s a big job, but having a solid checklist can make things way less overwhelming. Whether you’re helping yourself or someone you care about, having a plan helps you stay on track, keep safe, and (most importantly) not burn out. Let’s walk through everything you need to do—step by step—and make this daunting task a whole lot more manageable.
- Assess the Situation & Set Your Goals
Before you grab the trash bags, take a breath.
– Check in with yourself (or the person affected): Are you emotionally ready? Hoarding cleanups can bring up a lot of feelings.
– Figure out what matters most: Are there safety hazards that need immediate attention? Is there a room that needs to be cleared first?
– Break it down: Big jobs are easier when you split them into smaller tasks. Don’t try to “fix” everything at once.
– Set SMART goals: (Specific, Measurable, Achievable, Relevant, Time-bound.) For example: “Clear the kitchen counters by Saturday.”
– For extra support, you can get a FREE hoarding cleanup quote in Minneapolis.
> Pro-tip: Progress, not perfection! The goal is a safer, more functional space, not a magazine cover.
- Gather Supplies & Gear Up for Safety
It’s not just about elbow grease—you need to protect yourself, too.
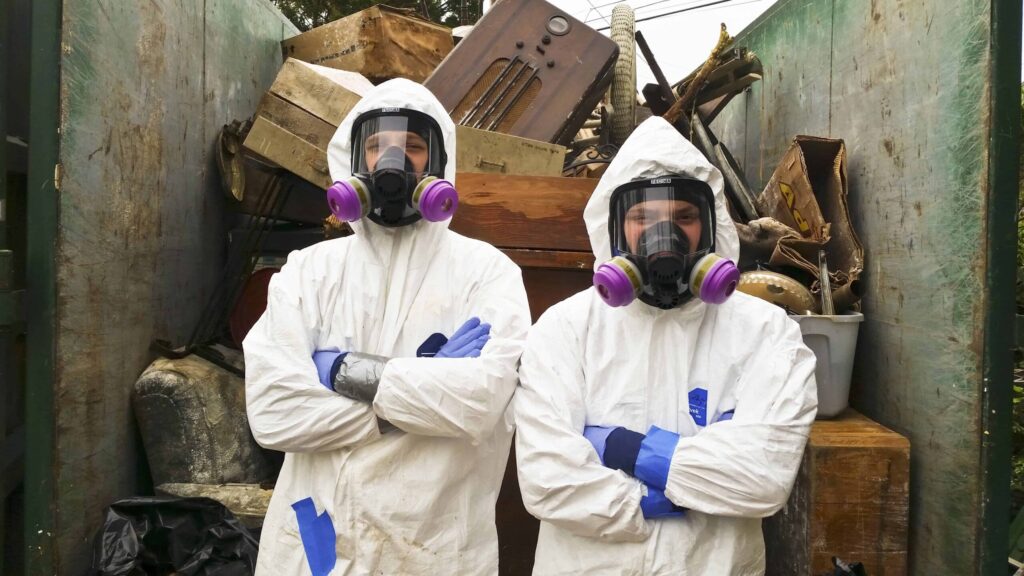
Safety Gear Checklist:
– Heavy-duty gloves (for sharp stuff or gross stuff)
– Masks (N95 if you might run into mold or dust)
– Goggles
– Sturdy shoes or boots
– Coveralls or old clothes
Cleaning Supplies:
– Trash bags (the tough kind!)
– Disinfectants and cleaning sprays
– Buckets, mops, sponges, scrub brushes
– Boxes or bins for sorting
– Labels or markers
Don’t Forget:
– Figure out how you’ll dispose of items. Some stuff (like old paint, electronics, or chemicals) can’t just go in the trash.
- Make a Sorting & Disposal Game Plan
You’ll want a system. Trust us.
How to Sort:
– Keep: Things you use or truly love
– Donate: Stuff that’s in good shape but you don’t need
– Recycle: Paper, plastics, metals—check your local rules
– Trash: Broken, unusable, or hazardous stuff
Sorting Tips:
– Work one room (or one area) at a time.
– Use labeled boxes or bins for each category.
– Be honest—with yourself or the person you’re helping—about what to keep.
Disposal Know-How:
– Look up donation centers (some will even pick up!)
– Learn where to take hazardous waste.
– Don’t forget recycling options for electronics and batteries.
- Communicate & Offer Support
If you’re helping someone else, remember: compassion goes a long way.
Best Practices:
– Listen more than you talk.
– Don’t judge—hoarding is often tied to tough emotions.
– Support, don’t push. Let them make choices when possible.
– Check in often, and be patient if progress is slow.
> Remember: The cleanup is just as much about emotional support as it is about physical stuff.
- Keep the Workspace Safe
Safety first—always.
Scan for Hazards:
– Sharp objects, broken glass, or unstable piles
– Signs of mold, pests, or anything biohazard-y
Keep Exits Clear:
– Make sure you can always get out in an emergency.
– Don’t pile things in front of doors or hallways.
Gear Up:
– Always wear your safety gear.
– Don’t take risks—if you find something dangerous, call in professionals.
- Sort Items Thoughtfully (and Respectfully)
This isn’t just about getting rid of junk—it’s about respecting what’s important.
– Use clear labels and keep things organized as you go.
– Be gentle with items that might have sentimental value.
– Take breaks if things get emotional or overwhelming.
– Communicate what you’re doing and why, especially if you’re helping someone else.
- Dispose of Unwanted Items—The Right Way
– Donate: Clothes, furniture, and household items in good condition.
– Recycle: Electronics, glass, metals, papers—separate as needed.
– Trash: Bag up and dispose of broken or unusable stuff safely.
– Hazardous Waste: Paint, chemicals, batteries, etc. need special handling—don’t just toss these.
> Tip: Keep a simple log of what was donated or recycled. It’s helpful for taxes and for tracking progress.
- Deep Clean & Sanitize
Now that the clutter’s gone, let’s get it sparkling.
What to Clean:
– Floors (vacuum, sweep, mop)
– Surfaces (counters, tables, shelves)
– High-touch spots (doorknobs, light switches)
– Inside cabinets and behind/under appliances
Sanitizing Tips:
– Use disinfectant sprays or wipes.
– Wear gloves.
– If possible, open windows for fresh air.
- Set Up Preventative Measures & Maintenance
Let’s keep things tidy for the long haul.
– Assign “homes” for items—use bins, shelves, and labels.
– Schedule regular mini-cleanups (weekly works great!).
– Make a rule: If you bring something new in, consider letting something else go.
– Do a quick monthly “clutter check” to stay on top of things.
Maintenance Checklist:
– Weekly: Tidy up, empty trash, and wipe down surfaces
– Monthly: Review and donate/recycle unused items
– Seasonally: Deep clean and reorganize as needed
Final Thoughts
Cleaning up a hoarding situation can feel huge—but with a plan, the right tools, and a little compassion, it’s totally doable. Remember, take it step by step, be kind to yourself (and others), and celebrate small wins along the way. You’ve got this!
Need more tips or support? Reach out to local professionals or support groups—sometimes a little extra help makes all the difference.